
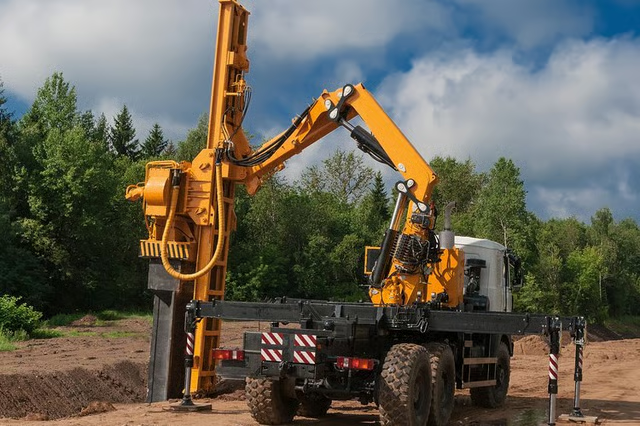
A hydraulic post driver is an apparatus used for forcing fencing posts into the ground. The equipment is first attached to a three-point hitch of a tractor. A fencing post is then fixed to it. Once fixed, an operator controls the hydraulic cylinders that force the post into the ground. Building a post driver requires mechanical expertise. This includes understanding driver components and how they operate.
Put on goggles, overalls, steel-toe shoes and ear protection. Refer to the manufacturer’s instruction manual to learn about the post driver components. Building the post driver involves installing the main carriage channel, stabilizer legs, base plate, hydraulic valve, safety stop adjustment, rubber debris guard and safety arm. Once built, you can attach it to a tractor.
Select an expansive, hard-surfaced area that can support the weight of heavy equipment. It should be accessible to a tractor you will attach it to. Unload the hydraulic post driver components in the selected location.
Position the main carriage channel in an upright position using an overhead lifting device. Position the short channel to the main carriage and secure it tightly using bolts, washers and nuts. Remove the road block pin from the lower hole in thew drive ram and fix it to the upper hole in drive ram. Secure them firmly using a road block pin.
Set up the stabilizer legs. Position the three-point hitch weldment in an upside-down position on the floor. Fix stabilizer leg brackets over the cross tube and secure them with leg bracket bolts. Tighten the bolts with a wrench. Fix stabilizer legs to the leg brackets and fasten them with leg lock bolts. Turn over the three-point hitch weldment and set to the stabilizer leg base plates.
Set up the base plate. Remove the mounting hardware from the manual base plate. Attach the manual base plate onto the three-point hitch weldment. Fix the mounting hardware you have just removed from the manual base plate. Set the base plate to the center of the three-point hitch and tighten the hardware.
Set up hydraulic valve. Fix the hydraulic valve on the short channel bracket and secure it tightly with a three-inch valve mounting bolts, washers and nuts.
Assemble the hydraulic control valve. Remove the plugs from the hydraulic control valve. Apply thread sealant to the threads and affix hydraulic fittings. Attach the main hydraulic hoses to the hydraulic control valve. Apply thread sealant to the threads and affix the valve drive ram hose between the hydraulic control valve and the drive cylinder assembly. Apply thread sealant to the threads and install a swivel fitting on the pressure hose to the control valve. Apply thread sealant to the hose fitting threads and install side tilt cylinder hoses between the triple lever control valve and the tilt cylinder hose.
Set up the safety stop adjustment. Try pushing the main hydraulic control valve lever forward without pulling or squeezing the yellow-tipped control valve safety lever.
Set up the document storage tube. Drill two 3/16-inch holes at any convenient location on the post driver and attach the storage tube to it using two pop rivets.
Attach the post driver to a tractor. Position the post driver on a hard surface. Carefully move the tractor toward. Check whether the three-point hitch has lined up and stop the tractor. Fix two lower three-point hitch arms to the post driver three-point hitch weldment hitch pins. Secure them using lock pins. Fix the three-point hitch link to removable pins in the post driver three-point hitch weldment and secure the pins with Lynch pin.
Install the hydraulic pressure supply hose to the tractor pressure supply port. Connect the hydraulic return hose to the tractor return port to complete building your hydraulic fence post driver.
